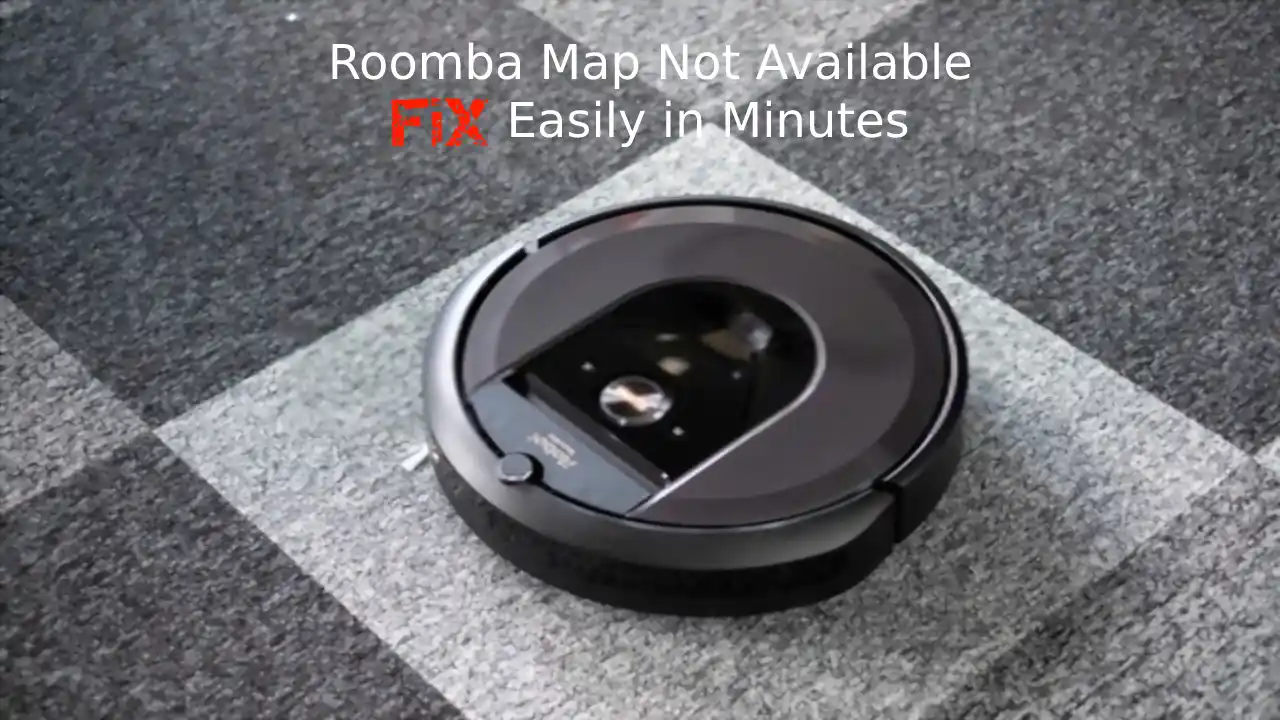
While Roomba wasn’t the first robot vacuum on the scene, it was and still is the most successful. Roomba has come a long way since its first release in September of 2002 and one of its neatest innovations is the Imprint Smart Maps. However, when it doesn’t work, it doesn’t seem like much of innovation at all.
To fix problems with the mapping software within your Roomba, you’ll have to work your way through a process of trial and error along with a process of elimination. There are several steps to go through but most often, it’s a very simple solution.
Since Roomba vacuums are largely dependent on the mapping system to make their way throughout your home, it’s important that it functions correctly, which includes your ability to look at the mapping on your Android or iOS, iRobot App.
How to Troubleshoot Your Roomba Map?
It’s called the Clean Map Report and it’s a feature that shows you a map of where your Roomba cleaned throughout the day, complete with the routes that it used, patterns, and everything.
The Roomba is a pretty sophisticated piece of hardware and software, however, it is entirely reliant on the internet and its ability to charge. Pulling up the iRobot app and the “Roomba Map Not Available” error is liable to irritate you a bit, especially considering the cost of a Roomba.
4 Ways To Fix Roomba Map Not Available
You expect it to do what it’s advertised to do. The problem is, it’s not always the Roomba’s fault, and here are a few items you should check over before you blame your Roomba and turn it into a soccer ball.
- The map feature may not be enabled
- Your Roomba may not have been connected to the internet
- Your Roomba’s software needs an update
- You need to reset your Roomba
1. Mapping Feature May Not Be Enabled
If you want your Roomba to map its new environment as it goes about its vacuuming business, you need to ensure that the mapping feature is turned on to begin with. It’s not an automated feature and it may or may not be turned on by default.
If you’re getting the error message and you’re unable to see your Roomba’s mapping job, it may be that you simply need to turn it on.
- Open your iRobot App
- Locate and select Settings at the bottom of the screen
- Select Map Privacy on the next screen
- Enable the Mapping Feature
You may find that the Mapping Feature is already enabled and if that’s the case, disable it and enable it again for good measure, but that’s probably not where the problem lies.
2. Internet Connection Error
You can’t always control when you don’t have an internet connection. Some ISPs (Internet Service Providers) are more reliable than others and thanks to the miniature monopolizations around the country, your area may only have but one choice in ISPs.
You can check to see if your Roomba is currently connected to the internet but it’s possible that the internet went out shortly after the Roomba left its dock.
- Open up the Home Page of your iRobot App
- At the bottom, select Settings
- Select WiFi Settings
- Select Robot WiFi Details
The next screen will have information on your Roomba’s current internet status. If everything is green and good-to-go, your only other option, in terms of internet outages, is to contact your ISP and see if they can tell you if there were any outages throughout the day.
When you set up your Roomba initially, you will have to input a schedule or routine for it to follow. So, depending on what your ISP has to tell you, you’ll find out if there was an internet outage during the time that your Roomba was supposed to be active.
3. Update Your Roomba’s Software
This should be done automatically and only when your Roomba is docked. Unlike a smartphone, where you have to allow the download and installation of updates, the Roomba is designed to receive OTA (Over The Air) updates that are received, downloaded, and installed on the spot.
For whatever reason, sometimes it’s a bit slow on the uptake and the firmware is out of date. To know for sure, one way or another you’ll have to check your current firmware and match it to the firmware listed on the Roomba website.
- Open your iRobot app and select More
- Select Settings
- Select About
Write down your current firmware, go to the link above, select the Roomba that you own, and match what you wrote down to the current firmware version that Roomba has released. If they match, it’s not a problem. If they don’t match, you’ll need to reset your Roomba.
4. Resetting Your Roomba
Resetting your Roomba will kickstart a firmware upgrade if one is due and it will also clear up any other software glitches that are going on and that you want to get rid of. Just like you would reset your smartphone if it’s giving you issues, that line of reasoning applies here as well.
For most series of Roombas, this is a pretty simple process, for others, you’ll have to remove some hardware to reset it.
- Roomba S and I Series: hold down the “Clean” button for 20 seconds.
- Roomba J Series: Hold down the “Clean” button for 10 seconds.
- Roomba E, 500, and 600 Series: Remove the bin and locate the green button on the underside. Hold down the button for 20 seconds.
- Other Roombas with no green button: Hold down the “Spot” and “Clean” buttons for a period of 20 seconds.
Any of the above methods will effectively reboot your Roomba and force update the firmware, hopefully fixing your mapping problem.
Final Thoughts
One of the above troubleshooting tips should fix your Roomba and allow you to view the mapping feature. However, if none of the above works, it’s time to contact customer support at Roomba. You can contact customer service here.
Your Roomba comes with a 1-year warranty for manufacturer defects. It’s not likely that you will have to use it. So long as you follow the above-mentioned tips, your Roomba mapping feature should be just fine.
