Brick can surely add character and a certain charm to the outside of your house. But if it starts to show age or you’re just looking for a change, painting over it can be an easy solution. With paint, you can give the brick a smooth surface that you can customize to your liking.
So, if you’re wondering how to paint a brick house, or you need tips for painting exterior brick, this is the place for you.
Let’s take a look at everything you need to know to get this done, including the materials needed and how to get the best final result.
Step 1: Shop for the Necessary Materials and Tools
Before you start on your quest to paint exterior brick, there are a few items you’ll need to buy first:
- Wire/metal scrub brush
- Soap (preferably liquid soap)
- Trisodium phosphate (if necessary)
- Paintbrush
- Paint roller
- Masonry or latex paint
- Latex primer
- Painter’s tape
Of course, depending on your preferences, you may need to use some of all of these supplies.
Step 2: Choose the Right Type of Paint
The next thing you’ll need to consider is the type of paint to use over the brick. Here, you have two options, which are elastodynamic paint and acrylic latex.
Let’s get to know each one more in-depth!
Elastodynamic Paint
This is paint that’s specifically made for painting exterior brick. Because of its high elasticity, it can cover dips and creases really well. It can also prevent new cracks from forming on the brick.
Even better, this type of paint should be able to withstand all weather conditions, even high humidity levels, thanks to its flexibility.
Acrylic Latex
If you can’t find elastodynamic paint or prefer not to use it, you can use acrylic latex. This paint is easy to clean and can stand up to mildew and grease.
You could also buy especially-made acrylic latex for exterior paint jobs. If applied properly, it can last anywhere from two to ten years without needing touch-ups.
Step 3: Prepare the Brick Surface
Painting bricks can be a very time-consuming task. It takes a while to cover the entire surface and you’ll need to leave plenty of drying time between coats. This is why you’ll need to make sure that you’ve scheduled enough time to work on this project.
Nothing’s more annoying than a half-painted wall!
Now, to the prepping part:
Before you apply any products on brick, you have to clean it properly. Here, you can use a high-pressure hose to remove most of the dirt on the brick. For tough areas and crevices, use your metal brush to get rid of any remaining debris.
Next, mix a small amount of liquid dish soap with water. Then, use your metal brush and soapy water to scrub the entire brick surface.
To remove any stubborn grease stains on the brick wall, mix some trisodium phosphate with water and scrub the brick. Just make sure to wear safety goggles and gloves when handling the solution to protect your skin and eyes.
After you’ve cleaned the brick, let it dry completely over 24 hours. Then, you can bring out your painter’s tape to cover up any areas you don’t want the paint to get on like wall sockets, windows, doors, etc.
Step 4: Prime the Brick Surface
Start off by applying a thin coat of latex primer. This will help cover the porous texture of the brick and ensure that your paint has something to stick to. Plus, latex-based primers dry much faster than oil-based ones.
You may have to apply multiple coats of primer over cracks or mildew.
We know it’s hard, but try to resist the urge to paint thick coats. It may be faster, but it’ll leave you with a lumpy surface.
When you’re done, let the primer dry completely for at least 24 hours.
Step 5: Paint the Brick Surface
Now you can finally break open the paint can!
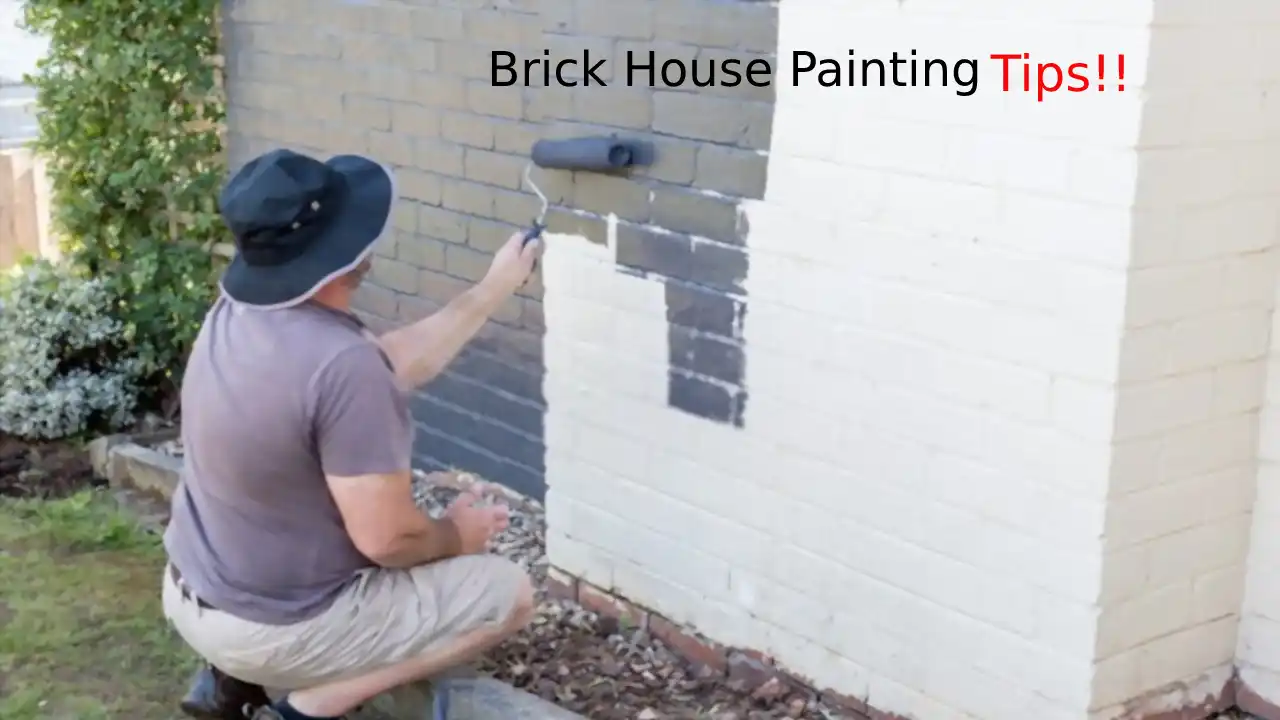
Here, your best option is to use paintbrushes and rollers to apply an even layer of paint. You’ll need an assortment of brush sizes to be able to get to those tight spots. If you’re using a roller, buy one with a thick nap to help you get into brick crevices.
Again, it’s better to do multiple thin coats than one thick coat.
Make sure you’re pushing the paint into the tiny crevices. You need to cover all parts of the brickwork to get a smooth finish.
Step 6: Consider Using Spray Paint to Save Time
If you’re painting large surfaces, it might be a good idea to use spray paint on an exterior brick wall. Its major benefit is that it’s much faster than using a paintbrush or a roller.
However, keep in mind that rollers can give you a much higher quality finish. Plus, it can be a lot harder to apply paint precisely by spraying. There’s always a risk of over-spray.
Therefore, if you’re just looking for a quick way to paint over a large brick wall, spray paint is the way to go. But, if you care about the finish, do it the old-fashioned way and use rollers.
Tips and Tricks for a Mistake-Free Exterior Brick Painting
In this section, we’ll go over some neat tricks and tips to help you get the job done faster and more efficiently!
First of all, it’s important to paint exterior brick in the summer or generally dry weather. This ensures that the paint on the walls dries up pretty fast.
Second off, you can consider using acrylic caulk to repair small cracks in the brick.
You may also want to swap painting over the brick wall with lime-washing, which works a little bit like staining. Unlike normal painting, lime-washing lets the brick absorb the paint. This has the added benefit of being breathable, letting water vapor evaporate to prevent mildew.
Another helpful tip is to steer clear from using acidic cleaners when you’re cleaning brick. They can interact with the paint and affect your final paint job.
To Wrap It Up
Painting the exterior of your brick house can be an affordable and easy way to give your house a completely new look. And so, the question remains, “How to paint a brick house?”
There are three main steps to paint brick. These include cleaning the brick, applying primer, and then using a paint roller and brush to cover the brick with your favorite color of paint.
Last but not least, you must make sure you are using the right tools and materials to get the best final paint job. Happy painting!

