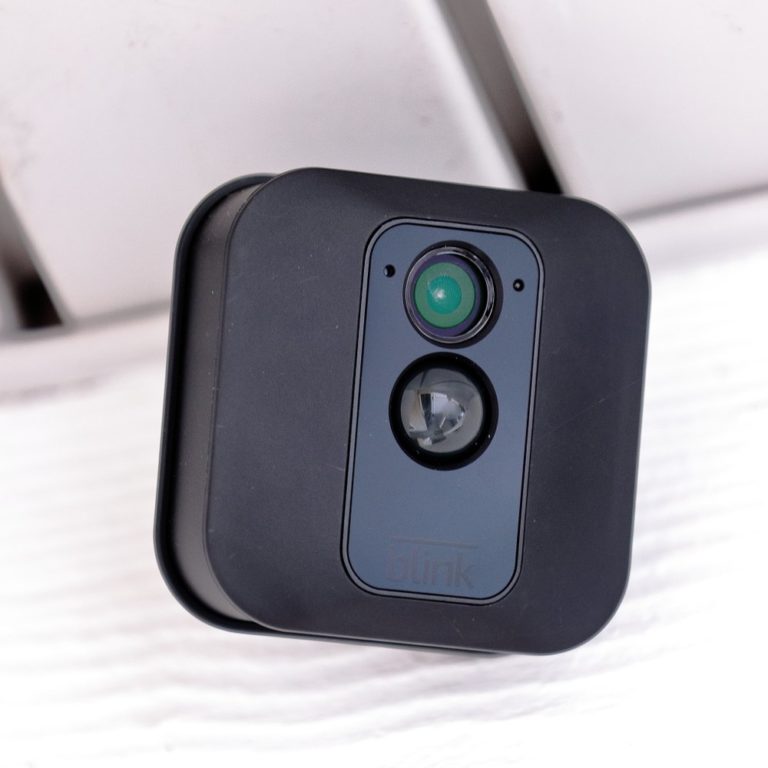
If you’ve recently bought a Blink outdoor camera, you might be wondering where to position it and how to put it up. These are great devices but placement is important, and you don’t want to have to take it down and start all over again. Today, therefore, we’re going to cover where and how to mount blink outdoor camera.
Blink cameras are easy to mount outdoors, but you need to do so securely to prevent them from falling down and getting damaged. Make sure you use appropriate screws and always check your camera is firmly fixed to the surface before you consider the job complete.
What is a Blink Outdoor Camera?
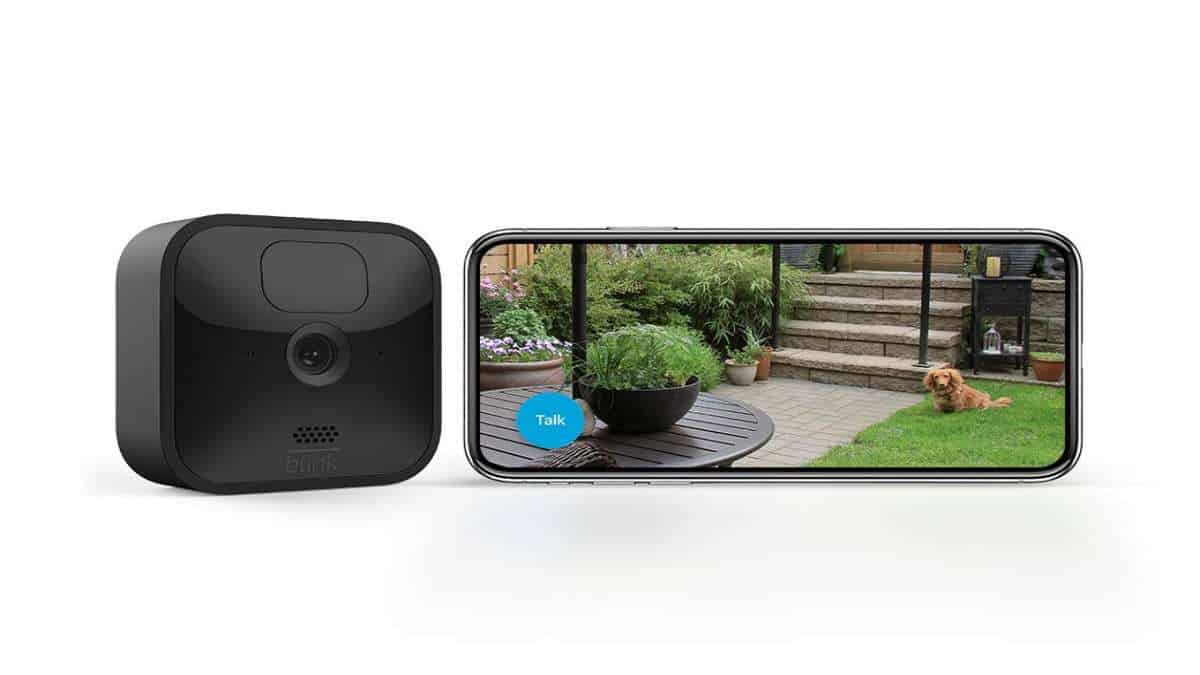
These cameras are clever little devices that are designed to give you a view of what’s going on outside your home at all times.
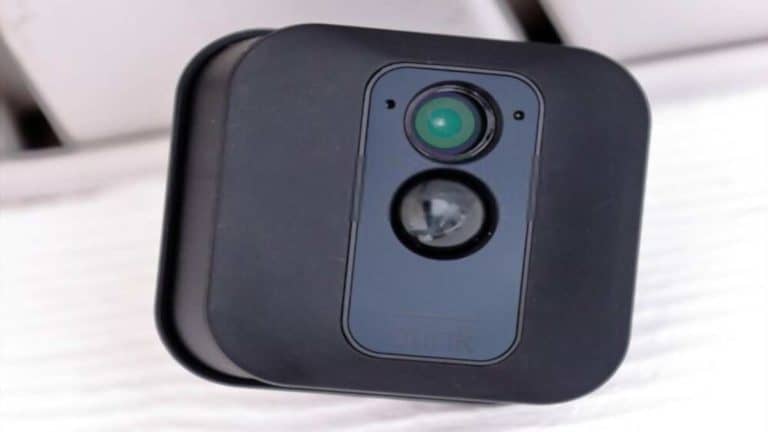
They are battery powered, weatherproof, 1080p security cameras that use local cloud storage to record footage of the outside of your home.
According to PCMag, they are also compatible with third party smart devices and they have good battery life. To top all this off, they are easy to install – so let’s look at how you install one of these properly.
Where To Mount Your Blink Outdoor Camera?
Your Blink outdoor camera needs to be put somewhere that it will cover the doors of your house and give you a good view of anyone approaching these doors or messing with them. To get the best use from your camera, therefore, make sure it is facing your doors.
Think about garage doors and shed doors as well as house doors. If you can cover all of these, great! If not, don’t worry; your house doors and then probably your garage doors at the most important.
Alternatively, you might want to turn your camera so that it faces your gate and fence. This will be useful if you want to see who comes onto your property as soon as they set foot there.
You don’t want your camera to get triggered by false alarms too often, as this will waste storage space on your cloud and the camera’s battery. That means you should try not to have it facing shrubs or trees that will trigger it when the wind blows.
You may also want to conceal your camera a bit by tucking it under the eaves of the house, mounting it in an unobtrusive corner, or putting something around it to hide it. Just make sure you don’t cover the lens.
Hiding your camera can make it less obvious to thieves who might steal it, but it won’t serve as a deterrent if you hide it – so decide which is a more appealing option to you, and then situate your camera accordingly.
How To Mount Your Blink Outdoor Camera? (Install Blink Outdoor Camera)
Your camera can be mounted horizontally or vertically, and BlinkForHome offers some advice about which option might be most suitable in which circumstances.
Your camera should come with a volcano mount, a riser, and two wood screws.
If you want to mount your blink camera on some other kind of surface (not wood), you will need to visit a local hardware store and get some different screws – or the camera may not be very securely fixed.
Once you have settled on a location, hold the camera up and test that it is where you want it. You may want to get someone else to help with this to check it displays what you want it to display.
Next, you can put the riser on the mount if you wish to. This will give you a greater degree of flexibility for positioning the camera, because the camera will sit further away from the wall and won’t bump into it if you want it at a steep angle.
Use a pencil to mark the screw holes, and then drill these holes and securely screw the mount into position against the wall. Check that it is firmly fixed and doesn’t wobble if you tug or nudge it; you don’t want it to fall down once the camera is attached.
When you have done this, clip the camera onto the round section at the front of the mount, and make sure it has snapped into place properly.
You can then rotate or re-angle the camera on the mount to provide the desired viewing angle.
Your camera is now mounted and ready to work!
How To Set Up Blink Camera (XT and XT2)?
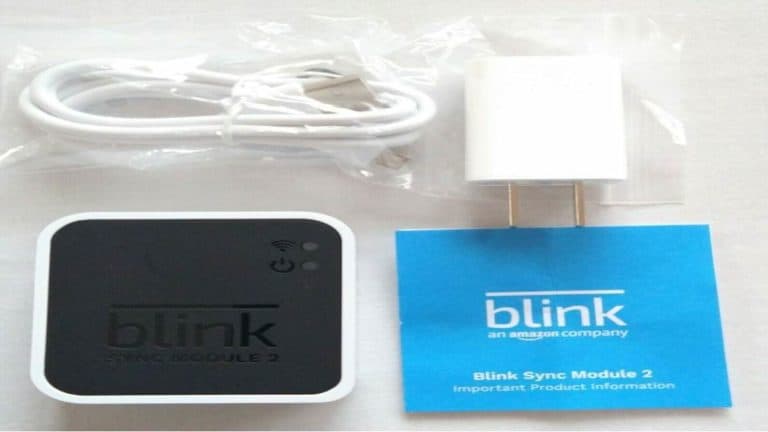
You can easily set up Blink Cameras by installing the Blink App followed by creating your account. Once you create your account, set up the sync module and add cameras.
Creating Your Blink Acccount
- Open the Blink App on your android device and select “Create Account“.
- Select your “country” and click on Next.
- Put your email id > Next.
- Now, create your password and then click on Create account.
- Blink will ask for multi factor account verification process.
- Once you complete the verification, link your Amazon Account with Blink.
Setting Up Blink Sync Module
First plug in the Blink Sync Module and then go through the steps below.
- Go to Home Screen and Click on Add Devices Icon (plus icon).
- Select device from the Add Device screen.
- You can either put the device Serial number or scan the QR code from the device.
- QR scan would need the device access on the mobile device. Click on OK when prompted.
- You can now create a new system by typing text in the text entry box.
- Plug in the Sync module and wait till the device shows blinking blue and steady green. If you don’t see the light, you should reset your blink module.
- Click on the Discover Device and You will find Blink Wifi. Connect to it.
- Click on Wifi and join to the network by putting the password.
- Click on Done and your blink sync module will be set up successfully.
Add Cameras
To add blink indoor or outdoor cameras, follow the below steps.
- Click on the plus (+) sign at the top of the Home Screen.
- Select Blink Wireless camera and scan the QR code available at the back of the device. You can also input the device serial number.
- You will see the Camera Onboarding screen once the device is verified.
- Click on Done when you see a pop up showing Camera Added Successfully.
Remember that to activate blink subscription plan, you will have to link your Amazon account with blink App.
Summary
So, we’ve now covered where and how to mount Blink outdoor camera. Following this guide should get you all set up to make the most of your camera and ensure that you see everything you need to see – and hopefully not too much of the things you don’t need to see.
If you aren’t happy with your camera’s position, you should find it easy to take it down and mount it elsewhere simply by unscrewing it from the wall and drilling some new holes in a different location.

